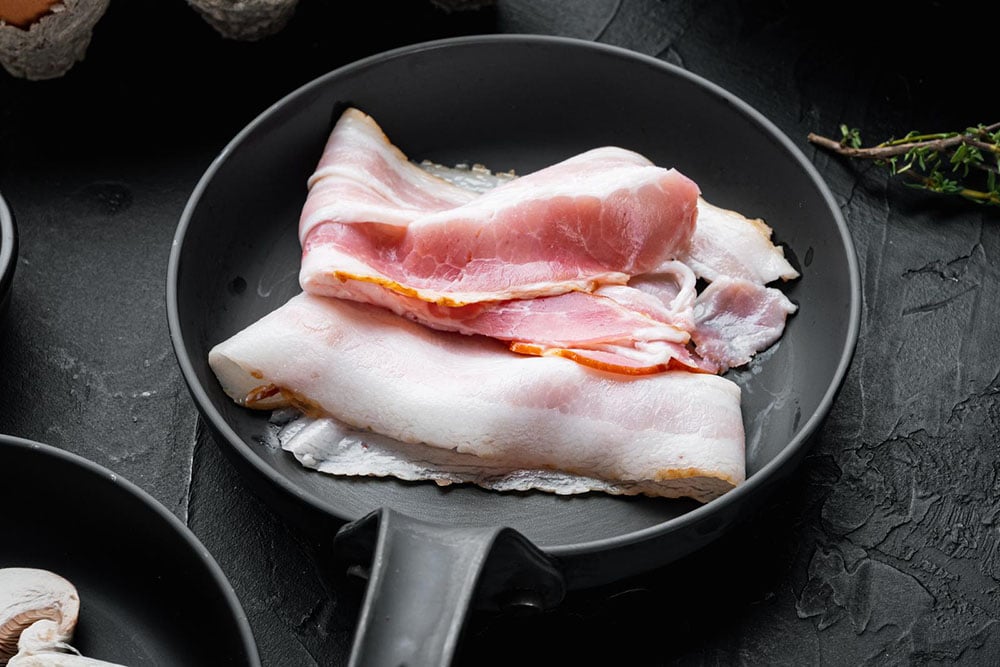
Cast Iron is the traditional cookware used in Southern cooking. It retains and transfers heat like no other material. If you are unfamiliar with cast iron cooking, this page will help you get started.

CAST IRON COOKWARE – PROS AND CONS
THE BAD
1. Cast iron tends to stick and rust if not properly cured.
2. The entire skillet, including the handle, stays hot a long time. Burnt fingers are a concern.
3. It is heavy
4. Food continues to cook for a period after removed from heat.
THE GOOD
1. Cast iron is practically indestructible. It will last a lifetime with normal care.
2. It fries food and bakes cornbread better than any other cookware (author’s opinion).
3. Cast iron is typically less expensive than other quality cookware.
4. It is the traditional way to cook Southern food.
Cast iron cookware comes in every style. Skillets, pots, pans, grills, deep fryers, whatever you need. Most Southern cooks have one special skillet for their cornbread and separate skillets for other food. The cornbread skillet is the pride of the kitchen and is never used for anything but cornbread.
There is much debate over using soap to clean cast iron as well as the method of curing. Soap and vigorous scrubbing tends to remove the cured finish, making it necessary to redo the cure process. Our view is that properly cured cast iron can be cleaned with a dry paper towel in most instances. In stubborn cases, a damp cloth will do the job.
Most cast iron sold today has been pre-cured by the manufacturer. If you purchase one of these you should not need to cure until after many uses. You will know when to cure when food starts to stick. Of course if you acquire cast iron cookware at a garage sale or receive grandma’s hand-me-down, you will need to cure it before using.
TIPS
1. Avoid putting water in cast iron anytime except during cooking or cleaning (if a moist towel does not work).
2. Never put cold water in hot cast iron (it may crack)
3. Avoid using soap, abrasive cleaning utensils and vigorous scrubbing
CURING/SEASONING
Be aware that these instructions are not cast in stone, i.e., you may need to adjust time and temperature for your individual oven. Also, if you cure more than one item at the same time it will take longer to cure.
And, to repeat, there are various ways to season your cast iron. The following is a couple of methods we like.
METHOD 1:
Step 1: Wash the skillet with hot soapy water (of course, after curing avoid use of soap if possible). Dry thoroughly.
Step 2: Rub a liberal coat of cooking oil over the entire skillet, inside and out, including the handle.
Note: Different types of oil will vary the time required in the following steps. We have used Crisco, peanut oil, safflower, bacon drippings and cheap vegetable cooking oil. We do not recommend bacon grease; we prefer melted Crisco or conola oil.
Step 3: Place the skillet in the oven set on low temperature (about 250-300 degrees). Position the skillet upside down in the oven with aluminum foil under it to catch any dripping.
Step 4: Check the skillet in about 10 to 15 minutes. The oil should be tacky to the touch over the entire inside surface (use a spoon to test). If you have wet spots, smooth them out with the back of a spoon. If you have spots that are not covered with a tacky surface, add oil to those spots. Place cookware back in the oven until you have the entire inner surface covered with a tacky oil coating. If you have trouble with this step, increase oven temperature slightly and allow more time.
Step 5: Once you have a tacky surface, turn up the oven setting to 500 degrees. Allow to cure for one hour in the oven.
Note: Your kitchen will be smoky from the oil so do this on a day when you can ventilate the kitchen.
Step 6: Check the skillet after one hour. When properly cured, your skillet will have an even, black, shiny sheen over the entire inner surface.
Step 7: If you have the shiny sheen, you are finished. If not, put back in oven and continue cooking as long as it takes to get the sheen. Since oven temperatures vary, the time required for this step will not be the same for all ovens.
CAUTION: Always use protection for your hands when handling hot cast iron. Remember it stays hot for a long time after being removed from heat. Touching with a bare hand will produce severe burns.
METHOD 2 (EASIER BUT TAKES LONGER)
1. Rub a thin coat of cooking oil over entire surface of skillet.
2. Place skillet in oven set on 300 degrees F.
3. Leave in oven until a dry, dark, shiny sheen develops over entire inner surface of skillet. This may take 1-3 hours. Just keep checking every 30 minutes.
Regardless of the curing method, when storing your cured cast iron, make sure the cookware is dry and rub a light coating of vegetable oil on the inner surface.
That’s it. Follow these guidelines and you will have the perfect cast iron cookware that you can pass down to your children.


